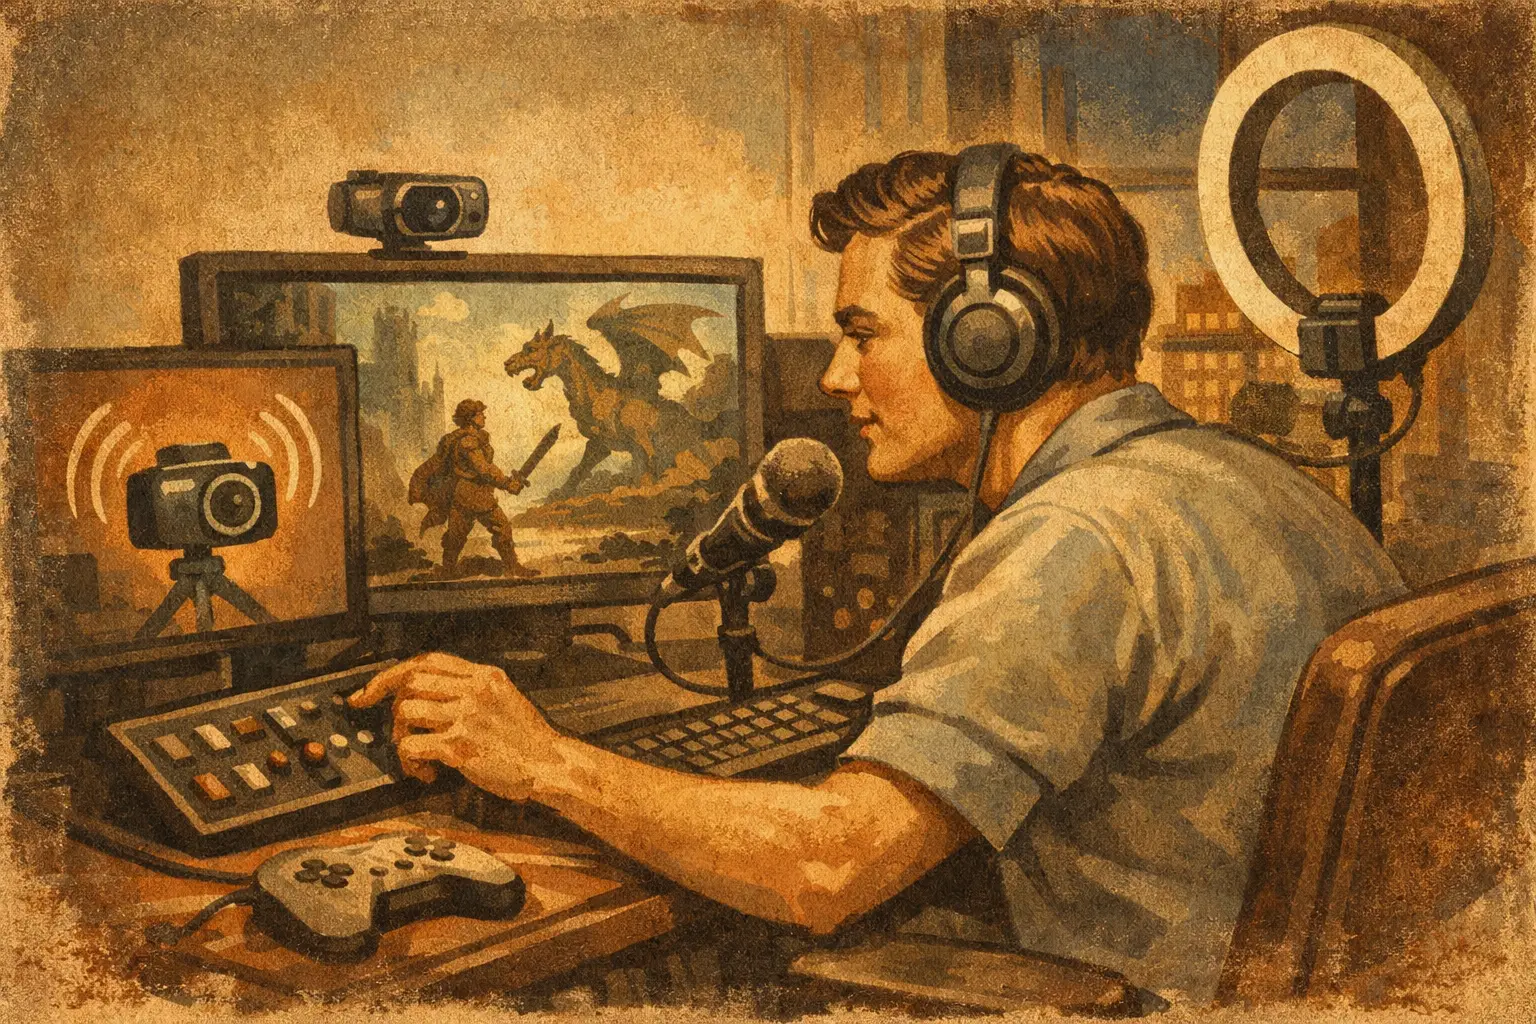
That first Twitch stream feels a lot like cracking a fresh collector box on camera – exciting, slightly chaotic, and way more fun once you stop overthinking it. If you’re asking, “how do I start a live stream on Twitch,” the short answer is this: set up your Twitch account, connect streaming software, test your audio and video, then go live with a simple plan.
The better answer is that your first stream is not really about having perfect gear or a fancy overlay. It’s about making it easy for people to show up, understand what your channel is about, and want to hang around. If you’re into card games, pack openings, Commander nights, or anything community-driven, Twitch rewards energy and consistency more than polish.
How do I start a live stream on Twitch without making it complicated?
Start with the simplest version that works. You do not need a full studio. You need a Twitch account, a computer or console, a stable internet connection, and streaming software if you’re not streaming directly from a console.
On Twitch, create your account, choose a username people can remember, and spend a few minutes on your profile before you ever hit Go Live. Add a profile image, write a short bio, and tell people exactly what they’ll get when they stop by. “MTG box breaks, live chat chaos, and community rewards” is a lot stronger than a vague sentence about gaming.
Then go into your Creator Dashboard and enable two-factor authentication. Twitch requires this before you can stream, and it’s worth doing anyway. From there, grab your stream key or use software that connects directly to Twitch through login.
If you’re streaming from a PC, OBS Studio is the usual starting point because it’s free and reliable. Twitch Studio used to be a beginner-friendly option, but many creators now start with OBS or Streamlabs. OBS gives you more control, though it takes a little more setup. That trade-off is worth knowing early.
The gear you actually need
This is where a lot of people stall out. They assume they need pro lighting, a DSLR, a stream deck, a broadcast mic, and a room that looks like a convention booth. You don’t.
You need clear audio first. Viewers will forgive average video way faster than bad sound. A decent USB mic is enough to begin. If your budget is tight, even a headset mic can work for your first few streams if it’s clean and not peaking.
For video, a basic webcam is fine. If your content is card-focused, think about what people actually need to see. For a face-cam stream, your webcam and a light pointed at you will do a lot. For pack openings or tabletop gameplay, you may eventually want an overhead camera so viewers can clearly see the cards. That’s a smart upgrade, but not a requirement for day one.
Lighting matters more than people expect. A cheap ring light or even a desk lamp placed in front of you can make a budget camera look much better. Dark, grainy video instantly makes a stream feel harder to watch.
Internet matters too. A wired Ethernet connection is better than Wi-Fi if you can manage it. You’re trying to avoid dropped frames, weird lag, and the classic “Can you guys still hear me?” moment every two minutes.
Setting up OBS for your first Twitch stream
Once OBS is installed, you’ll build your stream scene. A scene is just the layout your viewers see. Keep your first one simple: camera, microphone, and maybe one image or text overlay with your channel name.
Add your video source by selecting your webcam. Add your audio source by selecting your microphone. If you’re streaming gameplay from a PC game, you can add a game capture source. If you’re showing cards on a table, your camera may be the main event.
Then check your audio levels. Talk at your normal stream volume, not your whisper-to-yourself testing voice. In OBS, you want your mic active and clear without hitting the red. If it clips, it sounds rough fast.
After that, connect OBS to Twitch. You can log in directly through OBS or paste in your stream key from Twitch. Then set your stream title and category in Twitch. Be specific. “Opening MTG Collector Boosters Live” gives viewers a reason to click. “First stream lol” does not.
Your Twitch settings matter, but don’t obsess
A lot of beginner guides get lost in bitrate charts and encoder talk. Those settings do matter, but only after the basics work.
For most first-time streamers, streaming at 1080p is not always the best move. If your internet upload speed is limited, 720p at a stable frame rate often looks better to viewers than a choppy 1080p stream. Stability beats ambition here.
If you have decent internet, a common beginner setup is 720p or 1080p at 30 fps to start. Sixty fps is great for fast gameplay, but it’s less critical for card openings, chatting, and tabletop content. Choose settings your system can handle consistently.
Do a private test recording before you go live. Then do a short test stream if possible. Watch it back on your phone and desktop. Check for echo, bad lighting, blurry focus, and whether your cards are readable on camera. That five-minute test can save your first hour.
What to do before you hit Go Live
The biggest beginner mistake is treating the first stream like a technical event instead of an entertainment event. People are not showing up to admire your bitrate. They’re showing up for you, the vibe, and the reason to stay.
Have a loose run-of-show. Not a script. Just a plan.
For example, if you’re doing trading card content, you might open with a quick welcome, explain what’s happening on stream, spend a few minutes chatting while people arrive, then move into the first pack or game. If you have any audience interaction planned, say it early. Viewers are more likely to stick if they know they can participate.
This is where creator personality matters. A stream with chat energy, small rituals, recurring segments, and live reactions will always beat a technically perfect stream that feels flat. That’s a big reason community-first channels work. The audience wants to feel like they’re in the room, not just watching a camera feed.
How do I start a live stream on Twitch that people actually want to watch?
Make it easy to join the fun.
That means your stream should answer three viewer questions fast. What is this stream about? What’s happening right now? Why should I stay? If someone clicks in and sees you silently adjusting settings for seven minutes, they’re probably gone.
Say hello to people by name when they chat. Explain what’s on deck. React to what’s happening. If you’re opening packs, build little moments of suspense. If you’re playing games, talk through your decisions. Twitch is live entertainment, not silent content with a comment section attached.
Interactivity is your advantage, especially in collectible communities. Live polls, giveaway milestones, channel point redemptions, or simple chat calls like “pick left pack or right pack” can make a basic stream feel alive. That sense of shared momentum is what turns casual viewers into regulars.
Common first-stream problems
You will probably have at least one weird issue. That’s normal.
If your stream lags, your bitrate may be too high for your connection. If your mic sounds distant, it’s usually placement, not just quality. If your camera looks bad, fix the light before you shop for a replacement. If nobody is chatting, keep talking anyway. Dead air scares new streamers more than it scares viewers.
Growth is the other thing that gets in people’s heads. Your first stream may not bring a crowd. That does not mean it failed. Twitch channels are built over time through repeat shows, clearer branding, and a reason for viewers to come back. A good first stream is one that teaches you what to improve for the second.
Your first few streams should be repeatable
Don’t build a setup you can’t maintain. If every stream requires an hour of rewiring cameras, custom graphics, and panic, you’re making it harder to stay consistent.
Pick a format you can run more than once. Maybe it’s Friday night box openings, Tuesday Commander games, or a simple hangout stream with card sorting and chat. Repeatable beats elaborate. Once the routine feels natural, then add more scenes, alerts, reward mechanics, and extra production.
That’s also when community features start to matter more. A stream gets stickier when viewers know their presence changes the experience. Whether that’s live reactions, redemptions, or a whole points system like MasterCopter’s Copters, the best channels give people a reason to participate instead of just watch.
The fastest path to your first real Twitch stream
If you want the cleanest path, do this. Set up your Twitch profile. Install OBS. Plug in your mic and webcam. Build one simple scene. Test your audio. Set a title people understand. Go live for 30 to 60 minutes with a format you can repeat next week.
That’s it. You do not need your forever setup. You need your first working setup.
The best part of Twitch is that your stream becomes better in public, with real people, real chat, and real momentum. So if you’ve been waiting for the perfect time to start, don’t. Pick your format, hit Go Live, and give people something fun to show up for next time.